How to integrate your custom classifier into AddaxAI

Want to integrate your classifier into the AddaxAI Model Zoo?

The model integration is designed to be relatively developer-friendly. It expects classifiers to run on image crops generated by MegaDetector. If your model works differently—like using full images or a different input format—just let me know: peter@addaxdatascience.com.

Here’s what you need to know:


:white_check_mark: Requirements

AddaxAI uses multiple virtual environments to avoid package conflicts across model architectures. Chances are, your model already runs in one of them. If not, it is possible to set up a custom environment.

Make sure you have a requirements.txt file ready with your pip dependencies, and I’ll check if it runs in any existing environment.


:brain: Inference

Each model has its own inference script that tells AddaxAI how to:

  • Load the model
  • Crop detections from MegaDetector
  • Preprocess images
  • Run inference

For example:

What we need from you:

  • How to load your model
    Example
  • How to crop an animal from a MegaDetector bounding box
    Example
  • How to run inference on a PIL.Image crop, including preprocessing
    Example

You don’t need to integrate it into AddaxAI yourself. Just share a script with these code snippets—that’s enough for me to take it from there.


:clipboard: Admin Info

Once your model works technically, we’ll finalize the release by creating a model card with metadata. Users will be able to download and run your model within AddaxAI.

Here’s what I need from you:
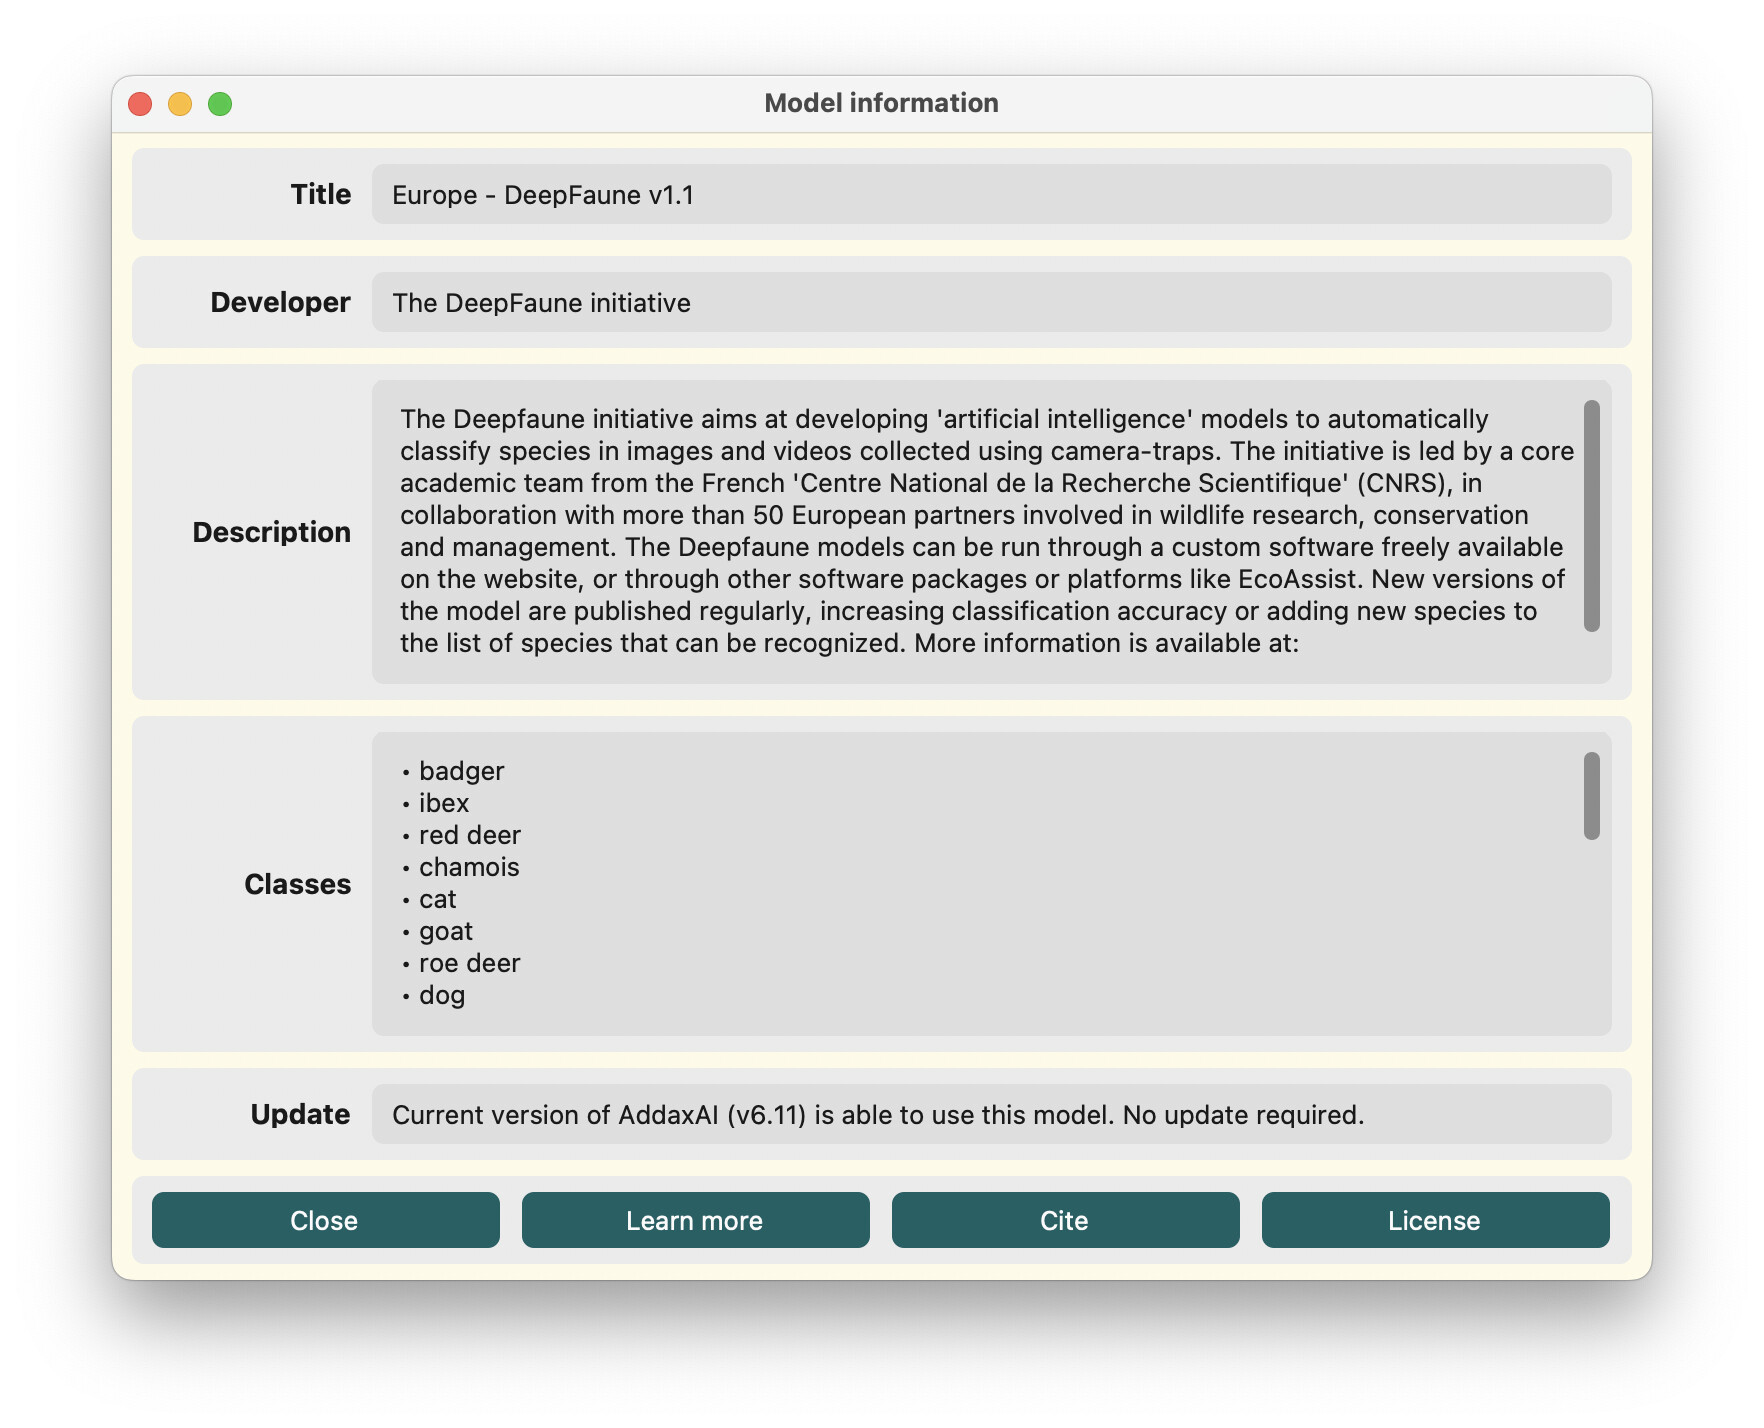
  • Title
    Short and descriptive—usually includes the region, model name/version, and developer.
    Examples: “Europe - DeepFaune v1.1” or “Namibian Desert - Addax Data Science”
  • Description
    What the model does and what it was trained on.
  • Developer
    Your name or organization.
  • Download link
    A direct link to the model and necessary files. Hugging Face repositories work great.
  • Owner (optional)
    Shown in the model card if you want to name a separate owner.
  • Citation (optional)
    URL to paper or publication to cite.
  • Information website (optional)
    URL for users to learn more.
  • License (optional)
    URL to the license information. Common choices:
    • CC BY-NC (non-commercial use, attribution required)
    • Apache 2.0 (permissive, allows commercial use)
    • MIT (very permissive)
  • Default thresholds
    Every model can define its own confidence thresholds. These will be editable by users but serve as defaults:
    • Detection threshold
      The MegaDetector confidence level required to send a crop to the classifier.
      Example: if set to 0.3, only detections above 0.3 are classified.
    • Classification threshold
      The classification confidence required to accept a classification.
      Example: if set to 0.8, predictions below 0.8 are labeled as “unidentified animal”.
  • Taxonomic fallback (optional)
    AddaxAI can fallback to higher taxonomic levels if class predictions are uncertain.
    Example: if “wolf” is uncertain, aggregate to the genus “Canis”, family “Canidae”, etc., until confidence meets the threshold. If you’d like this feature to be optional for the user, send me a list of scientific names for each class (e.g., class Aves for “bird”, species Sus scrofa for “wild boar”). I’ll handle the taxonomic mapping.

:test_tube: Test it locally

If you want to test you model locally, make sure the following files are in the right place.

  1. Navigate to the root folder. This is the main AddaxAI directory where files like models and environments are stored.
    • Linux home/<username>/AddaxAI_files/
    • macOS /Applications/AddaxAI_files
    • Windows C:\Users\<username>\AddaxAI_files
  2. Prepare a new model folder.
    • Navigate to /AddaxAI_files/models/cls.
    • Create a folder inside cls with a descriptive name for your model. This will be the name in the dropdown. For example, if your model identifies arctic fauna, the folder could be /AddaxAI_files/models/cls/arctic fauna/
    • Copy-paste the variables.json from an existing model to your folder.
    • Move your model file ( .pt / .pth / .h5, etc.) inside your model folder. Always make sure you have a backup - just in case. If you ever need to update AddaxAI, it will remove the entire folder and you’ll have to do this again.
  3. Open your variables.json in any text editor (Notepad, TextEdit, VSCode, etc.) and replace the existing values. Please note that not all fields are required at this time.
    • model_fname - The filename of your model. Make sure you check if you have the right extension. E.g.: "model_file.pt".
    • description - Leave blank. I.e., "".
    • developer - Leave blank. I.e., "".
    • env - Try selecting one of the predefined environments: “pytorch”, “tensorflow-v1”, “tensorflow-v2”, “speciesnet”, or “base”. If your model doesn’t run as expected, enable debug mode to troubleshoot errors. You can also modify these environments using conda:
      conda activate "path/to/your/AddaxAI_files/envs/env-<env-name>"
      Be sure to keep track of any changes you make.
    • type - This tells AddaxAI which inference script to use when classifying animals. It must match a subfolder name under /AddaxAI_files/AddaxAI/classification_utils/model_types/. Create a subfolder for your model type there, and place your classify_detections.py script inside. For example, if your script is located at /model_types/arctic-fauna/classify_detections.py, the type should be: “arctic-fauna”.
    • download_info - Leave blank. I.e., [["", ""]].
    • citation - Leave blank. I.e., "".
    • license - Leave blank. I.e., "".
    • total_download_size - Leave blank. I.e., "".
    • info_url - Leave blank. I.e., "".
    • all_classes - Your model’s species categories. Fill them in the format ["species 1", "species 2", "species 3", ... ].
    • selected_classes - The categories that will show up selected inside the GUI. Fill in the same as you did for all_classes.
    • var_cls_detec_thresh - This is the detection threshold. Only above this detection confidence provided by MegaDetector, the animal will be further classified. Must be in the range 0.01 - 0.99. If unsure, leave unaltered.
    • var_cls_detec_thresh_default - Match var_cls_detec_thresh.
    • var_cls_class_thresh - This is the classification threshold. Below this classification confidence, the model will label the animal with “unidentified animal”. Must be in the range 0.01 - 0.99. If unsure, leave unaltered.
    • var_cls_class_thresh_default - Match var_cls_class_thresh.
    • var_smooth_cls_animal - Keep as false.
    • min_version - The minimum version of AddaxAI that is able to run this model. This can be anything, as long as it is not higher than your current version. If you just do "5.5", you should be alright.
  4. Now save it and restart AddaxAI in debug mode. It should be visible in the dropdown menu.
  5. Let the testing begin!

:white_check_mark: Final Step

Once everything above is ready, let me know and I’ll handle the final integration:

:e-mail: peter@addaxdatascience.com